Choosing the correct stove for your backpacking trips can make things easier, simpler, and more enjoyable. These stoves make our coffee, melt our snow, cook our food, boil our water, and help us stay warm when it's cold and blustery. Here we describe different stove options and discuss other factors to consider before taking your stove out on a backpacking trip, such as how to calculate how much fuel you will need.
A canister stove is our favorite choice for almost all backpacking trips. They are lightweight, small, and easy to use. We think they're the best choice for most backpackers. Read on to learn why.
Types of Backpacking Stoves
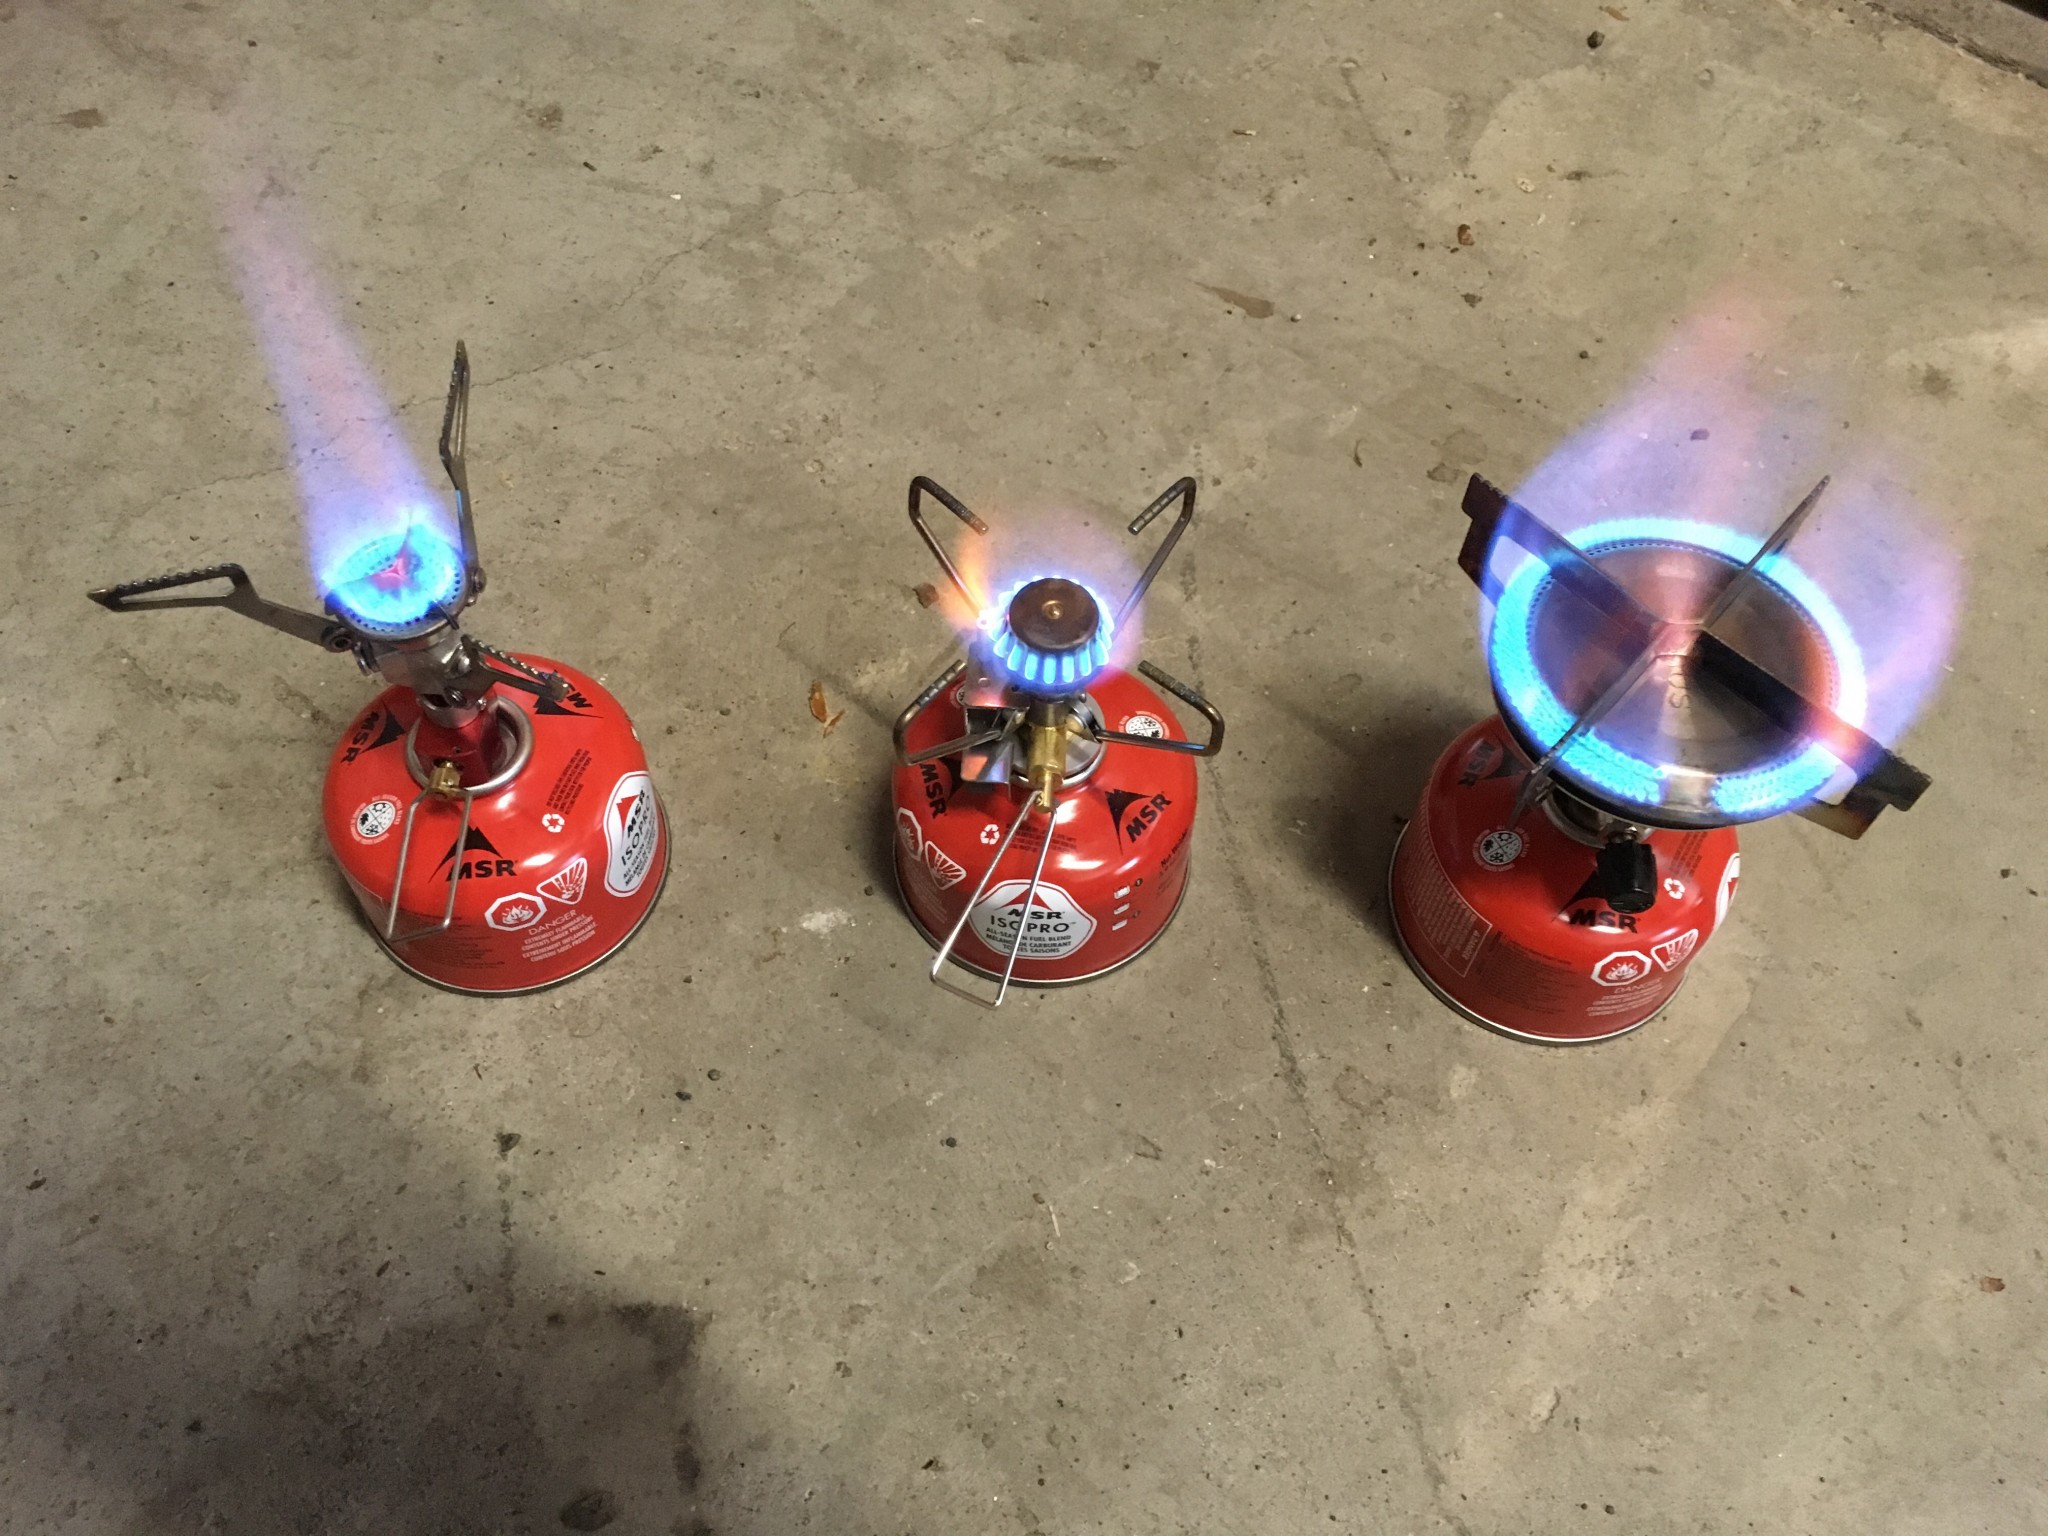
Small Canister Stoves
Small canister stoves are compact, lightweight units. This style of stove is so lightweight it is a simple decision to throw one in your pack for short overnight trips or as a backup stove. Most small canister stoves weigh 3-4 ounces, with some featherweight options weighing as little as 0.9 ounces for just the burner.
Best for: Lightweight backpacking
Best Features: Small, lightweight, powerful
Worst Features: They don't work as well in wind, although this is changing
These stoves are less fuel-efficient than an integrated canister stove because they have no way to diffuse heat to the bottom of the pot. Some models have better wind resistance than others, and this also affects efficiency. For this reason, it's important to choose a naturally sheltered location or a well-ventilated tent vestibule when cooking with a small canister stove.
Recently, a couple of noteworthy stoves have hit the market with competitive fuel efficiency and great wind resistance. The Soto WindMaster and the MSR PocketRocket Deluxe feature burner units that are recessed slightly below a protective lip, which offers some decent protection from the wind.
This type of stove is fairly versatile because they're compatible with all pots and pans, and there is good temperature control and simmering. Most modern canister stoves are compatible with any modern self-sealing threaded fuel can with isobutane fuel, regardless of brand. These stoves usually don't have field repairable parts.
Small canister stoves are a great addition to any backpacker or adventurer's toolbox. We take our small canister stoves along for short to medium-length backpacking trips when we want to be able to cook meals with friends or on short solo missions with a small canister and pot. We also take one along when we're testing other stoves that we are unsure of as a backup — just to ensure that we'll be able to eat dinner.
As a rule, windscreens are not made for stoves that fit on top of fuel canisters because they can cause the canister to overheat and explode. Two exceptions to this rule are the MSR Windpro 2 and the GSI Outdoors Pinnacle 4 Season. Both of these stoves connect the burner to the fuel can with a hose like a liquid fuel stove, which allows for the use of a windscreen.
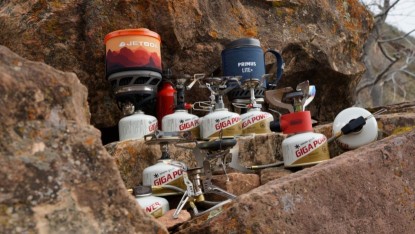
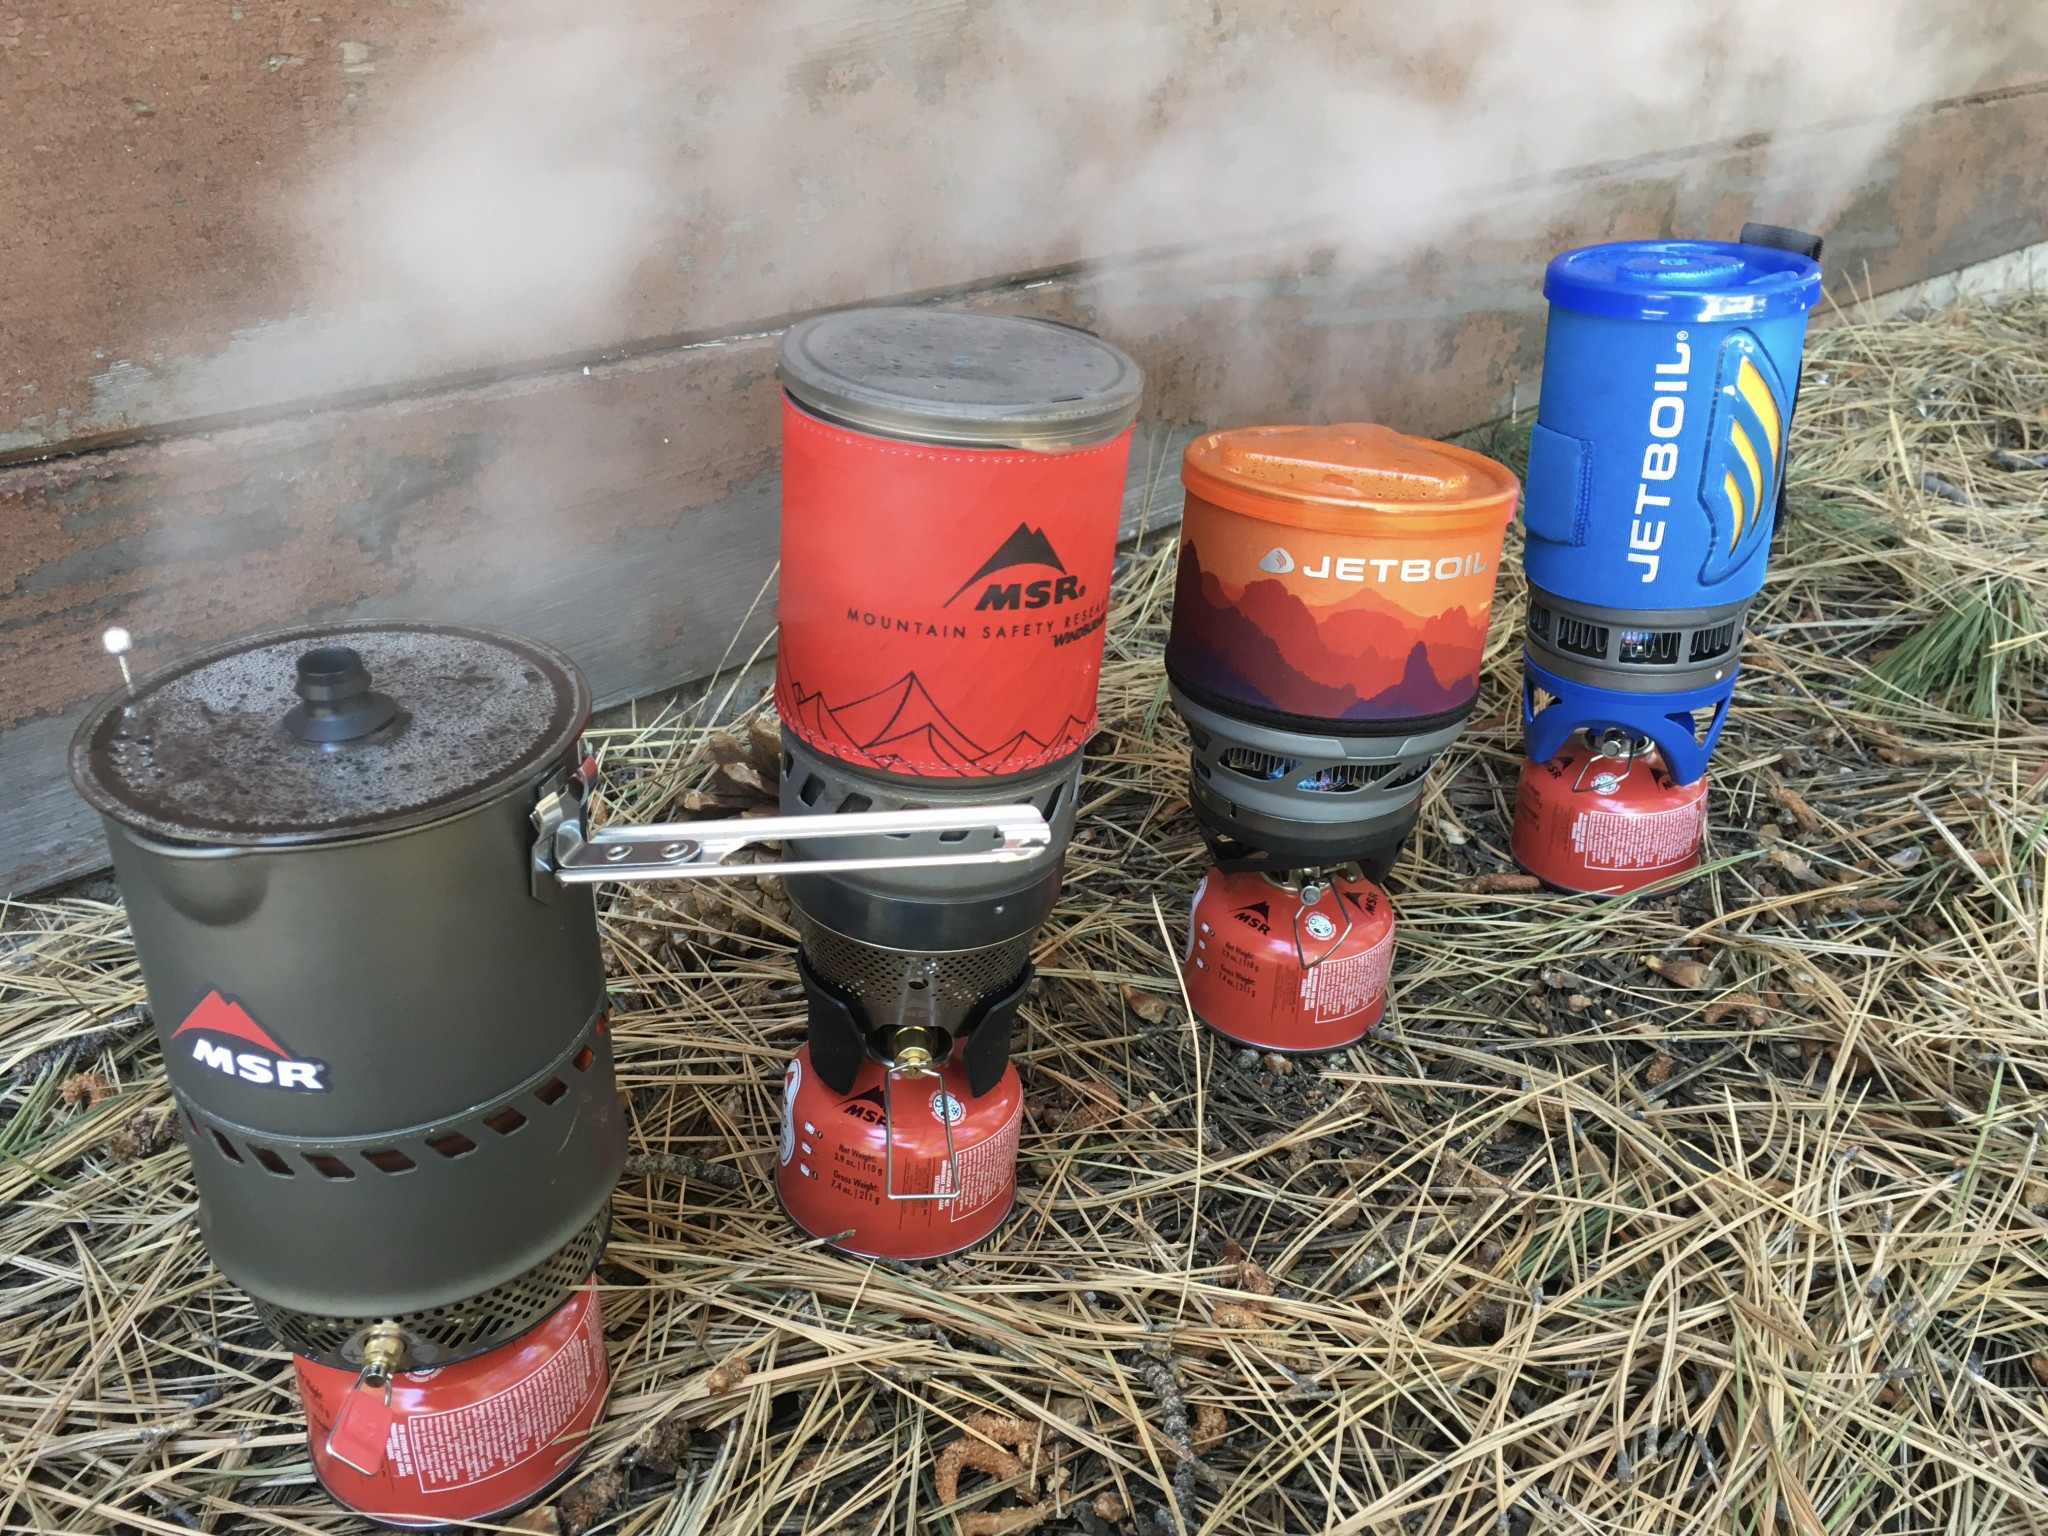
Integrated Canister Stoves
The latest type of stove to make a splash in the backpacking stove scene — integrated canister stoves — are so hot right now! These stoves feature a burner that mates with a heat exchanger pot for efficient boiling. Jetboil was the original company producing these stoves, and now other leading brands, like MSR, Primus, and Camp Chef have joined the game. These stoves are fantastic water boiling machines but are usually not ideal for heating things other than water. If all you plan to eat on your trips are instant food or freeze-dried meal-in-a-bag dinners — and you want food fast — this type of stove is all you need.

Best for: Alpine climbing and mountaineering, short trips for small groups
Best Features: FAST. Fuel efficient and effective at boiling water
Worst Features: Not so versatile and can only be used with specific cookware
Integrated canister stoves are extremely fuel-efficient. This is due to the built-in heat exchanger in the pot, where the heat from the burner is in very direct, diffused contact with the pot. They are generally less affected by wind than small canister stoves but can be blown out by fierce gusts. MSR's two integrated canister offerings, the WindBurner and Reactor, are virtually windproof once you can get them lit.
Newer models, like the impressively fuel-efficient Jetboil MiniMo, have attempted better temperature control, and you can cook simple meals like pasta with this system. Notably, the Camp Chef Stryker simmers almost as well as a small canister stove. Most integrated stove designs have the burner and pot mating securely, so they can be picked up and held as one unit. This makes using them in a precarious spot — like a portaledge or a snowy bivy on a steep climb — much more reasonable.
These stoves are a great choice for fast and light alpine missions, melting snow for a small group, or having a quick hot drink while out on a cold day ice climbing. There are typically no field repairable parts on these stoves.
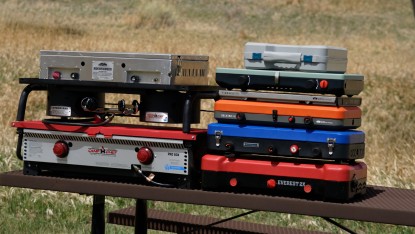
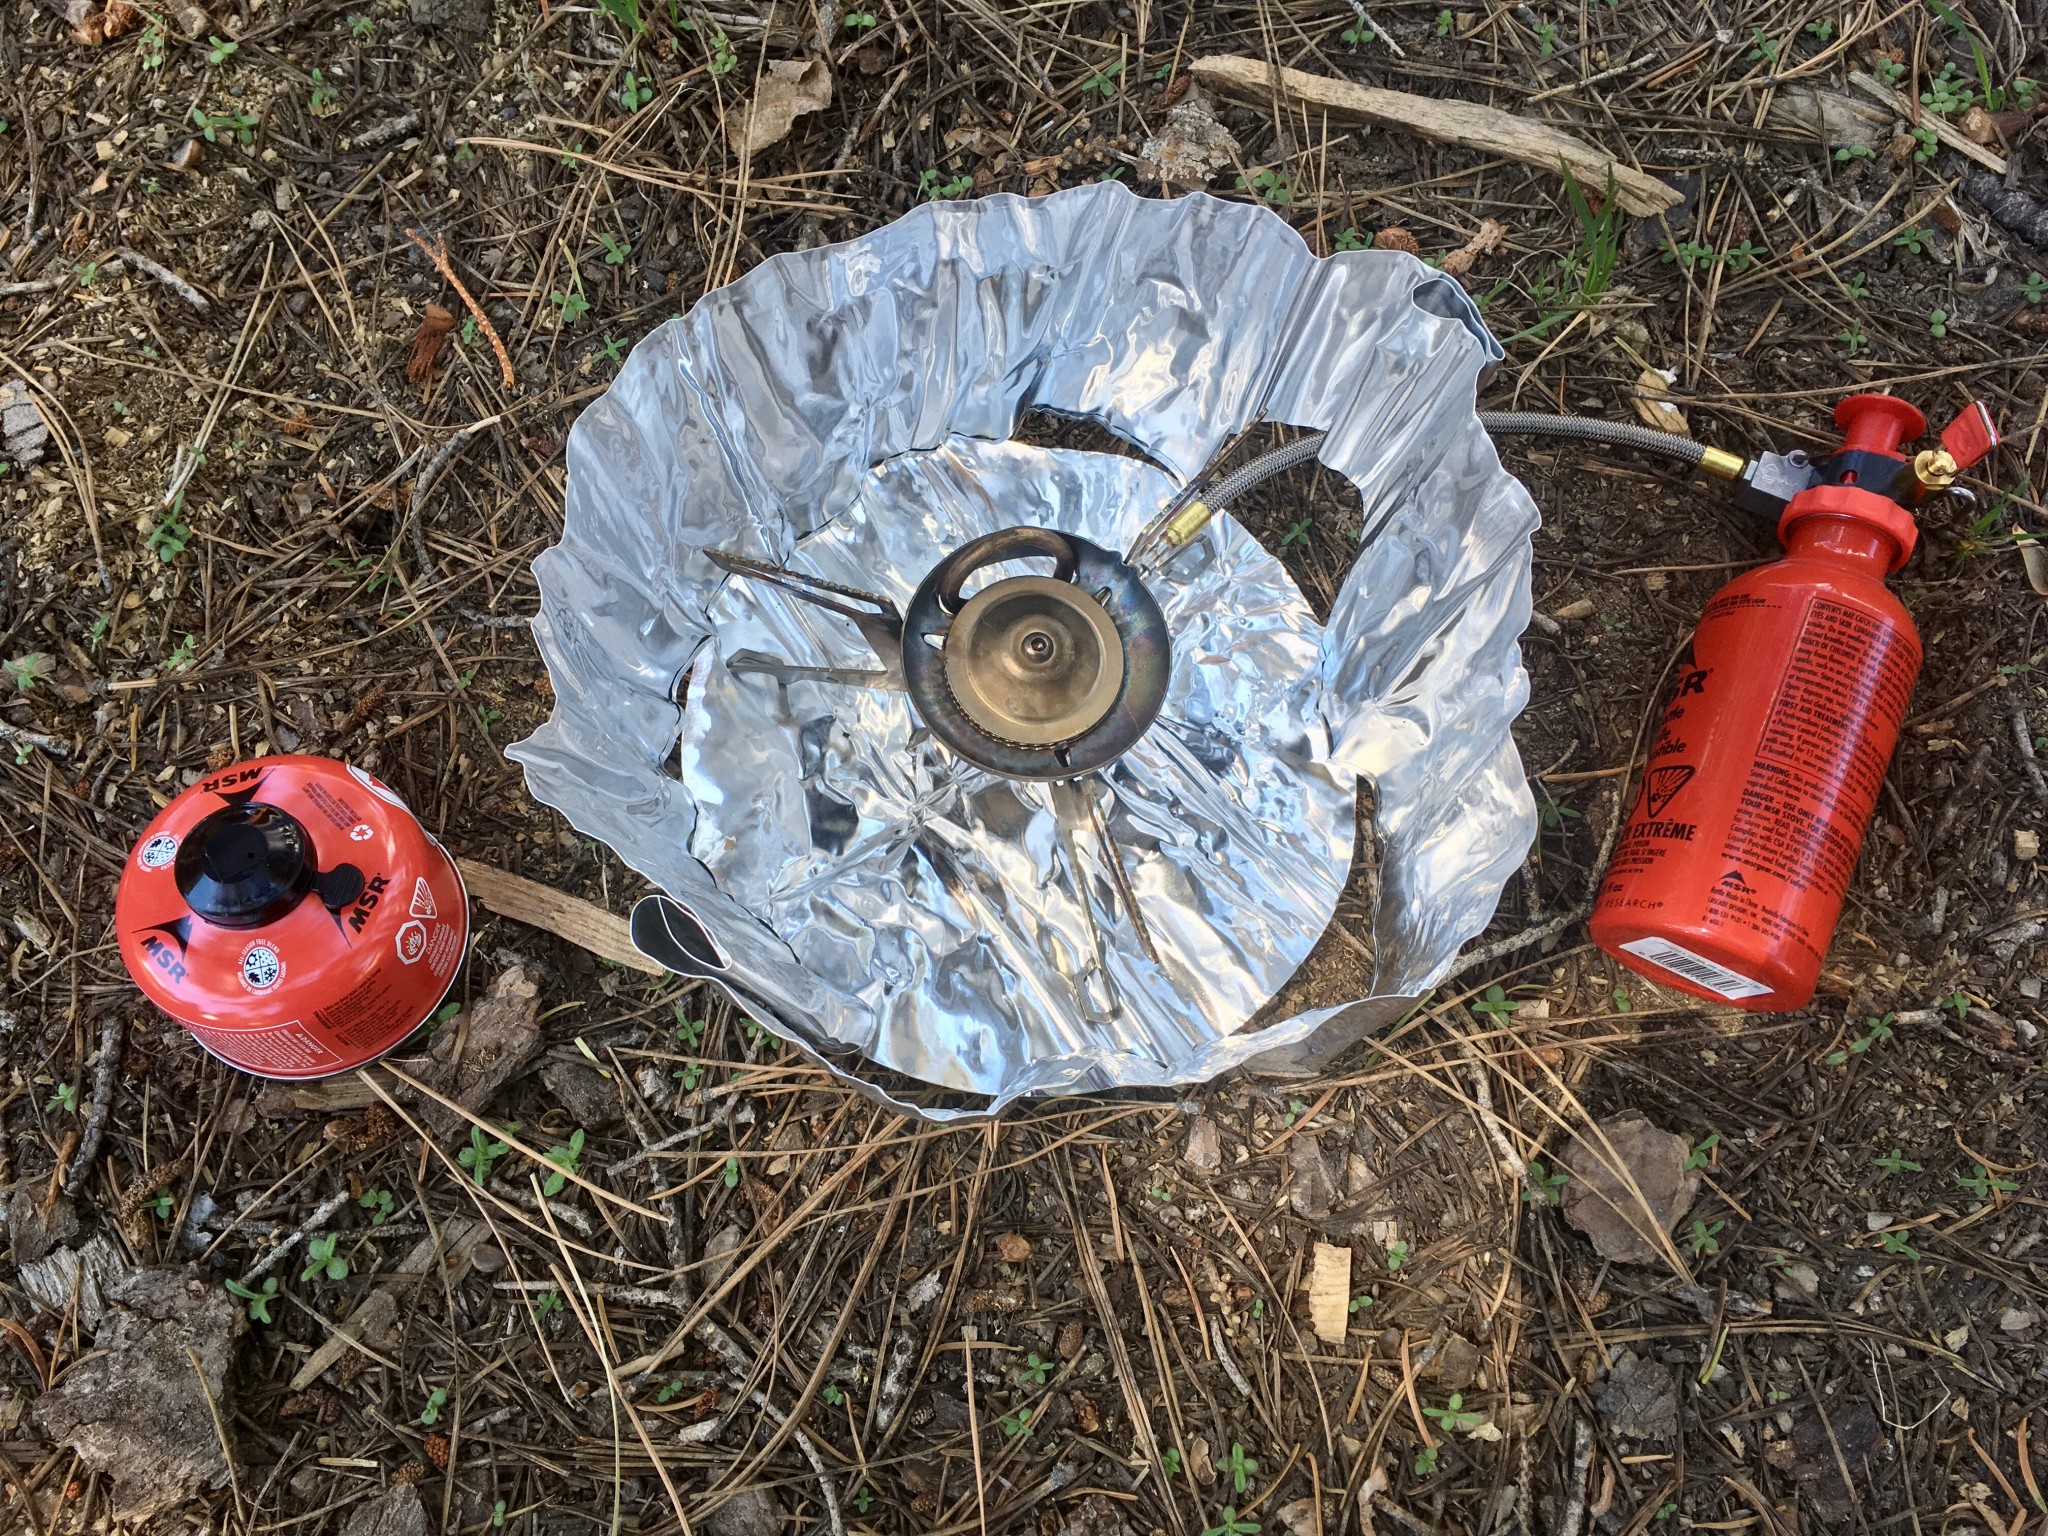
Liquid Fuel Stoves
These are the workhorses of the expedition world and are regularly used by outdoor education institutions and mountain guides on extended trips to glaciated peaks. They take knowledge and practice to correctly operate because they have many parts and need to be primed before use. You can take them apart, clean, troubleshoot problems, fix them, and then put them back together, all while out in the field. Maintenance is periodically necessary to ensure their best performance. For these reasons, we don't recommend them for most backpackers, but they are fantastic on long international trips and expeditions.
Best for: Basecamp cooking and large groups
Best Features: Can simmer and cook multiple types of food and are field maintainable
Worst Features: Heavy, bulky, complicated, require regular maintenance
When it comes to cooking, these are very versatile. Many of these stoves are multi-fuel and will burn anything from white gas and diesel fuel to kerosene and canister fuel. This is great for international trips when you're not sure what type of fuel will be available.
Liquid fuel stoves are also very stable for any kind of cookware. Some of these stoves have a simmering capacity built into their design; others can be forced to simmer with some skillful fiddling. These qualities make cooking more complex meals easier.
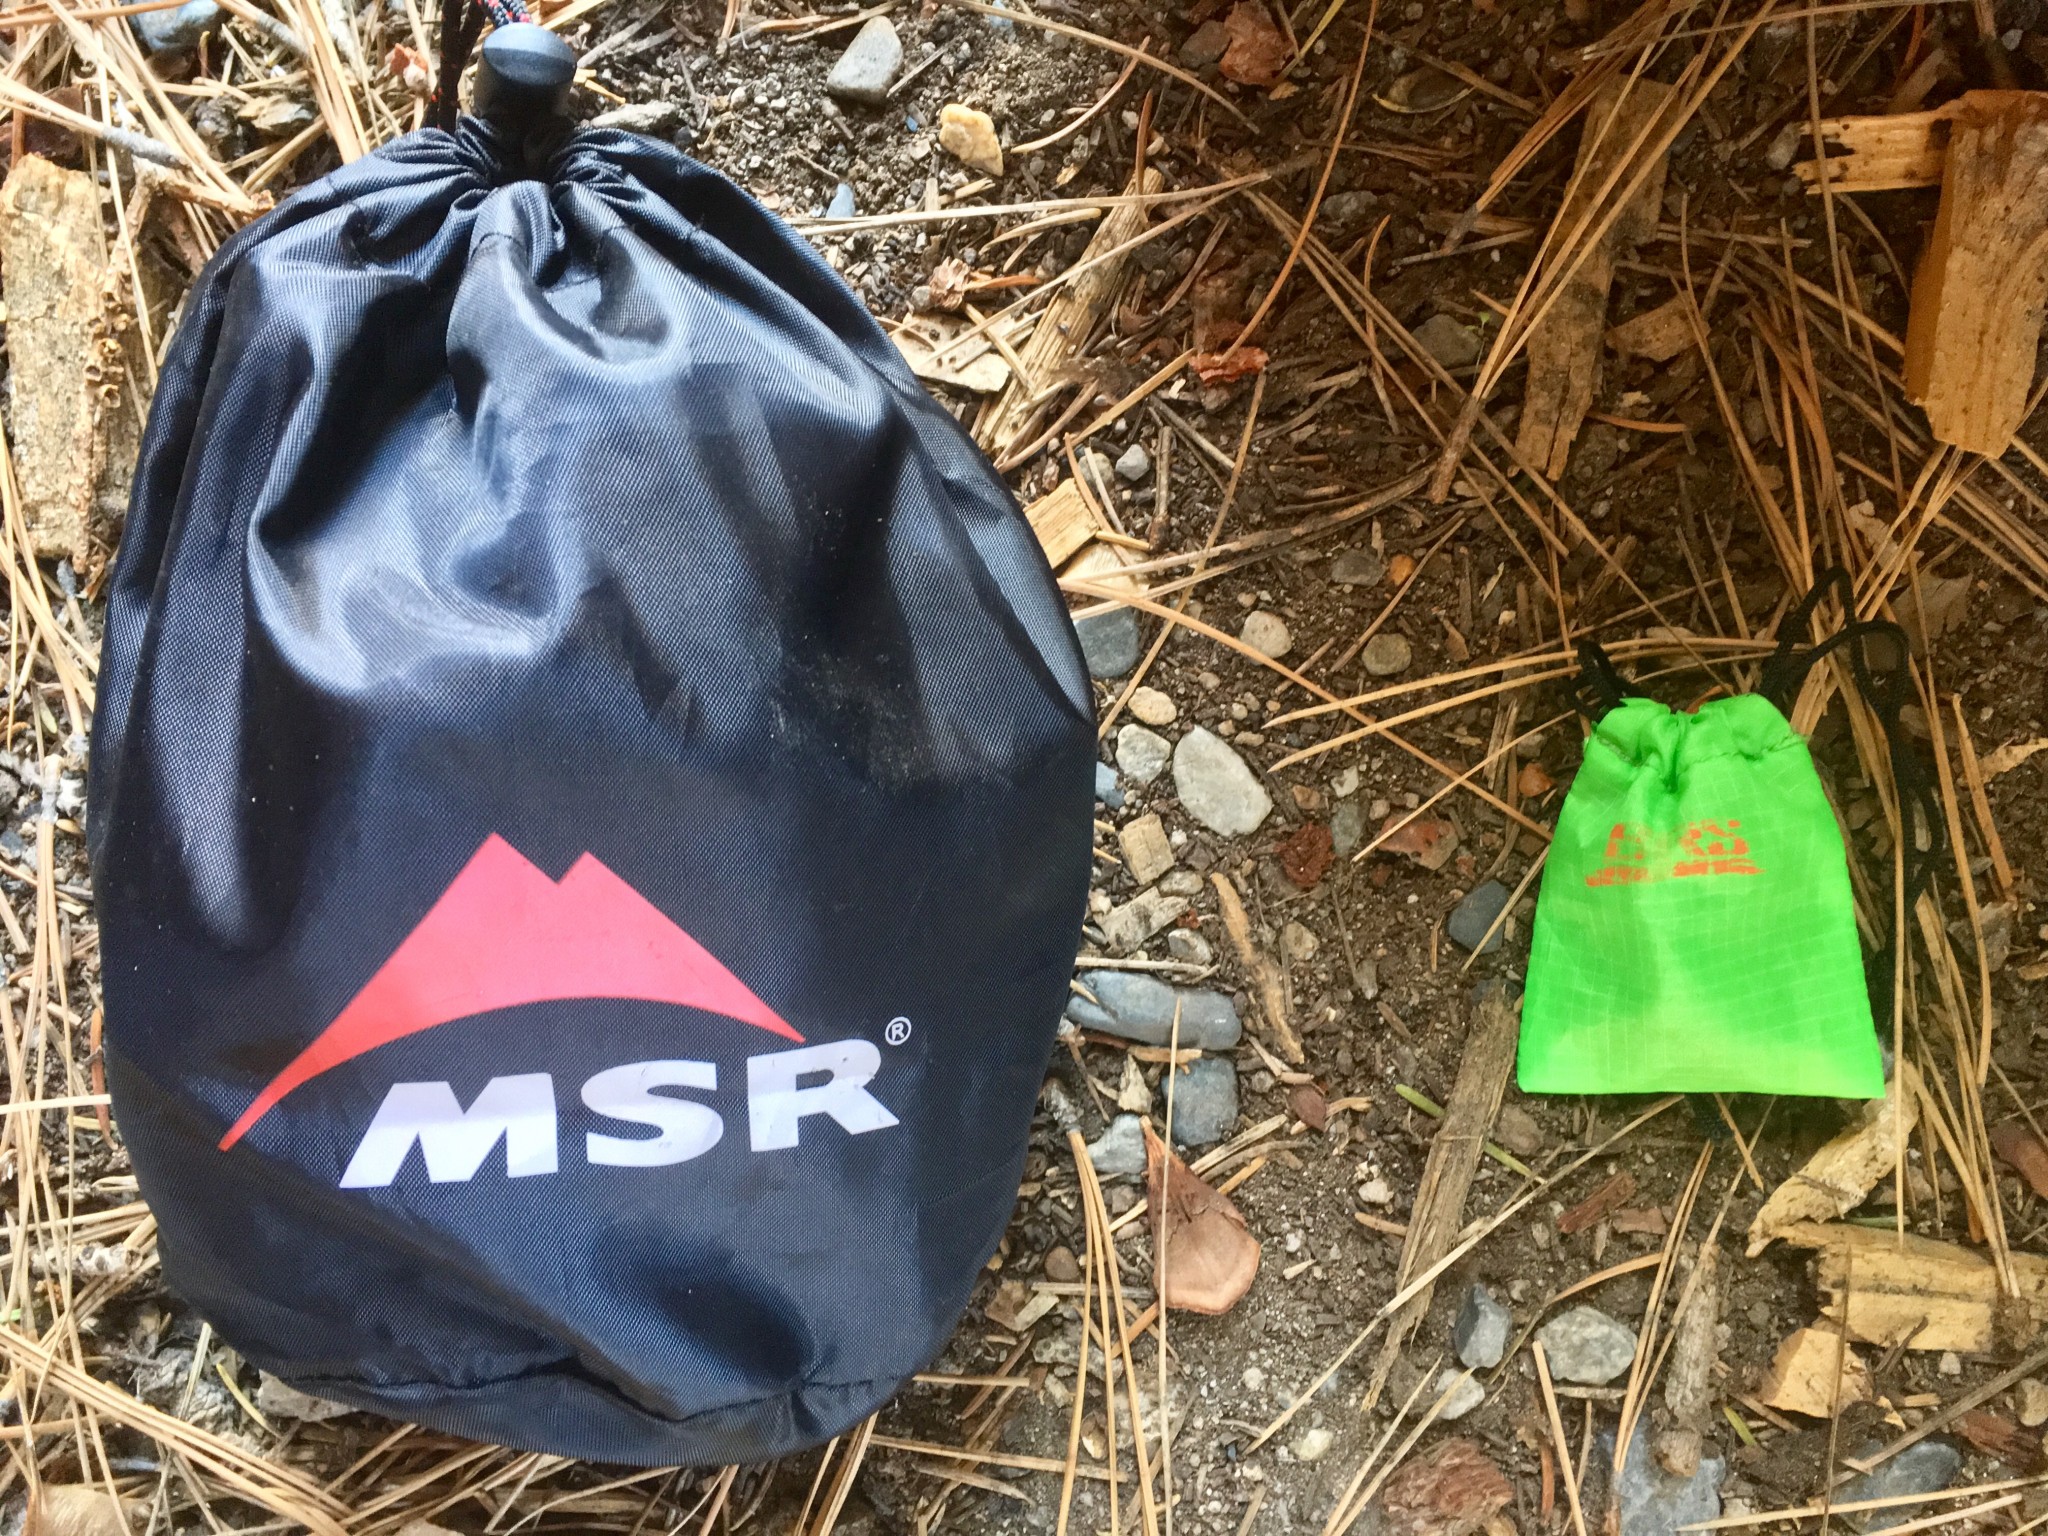
Liquid fuel stoves are not light, nor do they pack down small. For the weight of one Universal, you could carry 11 BRS-3000T stoves. The stoves themselves have a number of parts, and typically some spare parts and tools must be carried for maintenance on longer trips.
These stoves are ideal for longer expedition-style trips, usually with two or more people, where the option for large fuel bottles gives them an advantage. We take our liquid fuel stoves along when we are guiding groups on the John Muir Trail for three weeks or expeditions to Alaska, where lots of snow melting is involved. They are known for being stable, versatile, and having some form of temperature control.
Alcohol Stoves
These ultralight stoves originally gained popularity as a low-cost backpacker project, and now there are commercial options. They burn denatured alcohol and are best used only for boiling water to make dehydrated or freeze-dried meals. They take a very long time to bring water to a boil. Our testers think of them more as a fun DIY project than something we want to make breakfast with.
Best for: Ultralight backpacking
Best Features: Lightweight, uses a fuel that is very easy to find
Worst Features: No temperature control, finicky in different conditions
Thru-hikers tend to favor these stoves because denatured alcohol is inexpensive, and the fuel is available everywhere, even if there isn't a specialized outdoor store. They can also be extremely light. Stoves of this type don't generally do well with larger cookware. There is no flame control on these stoves, and they take skill to operate, especially at altitude and in wind or cold temperatures.
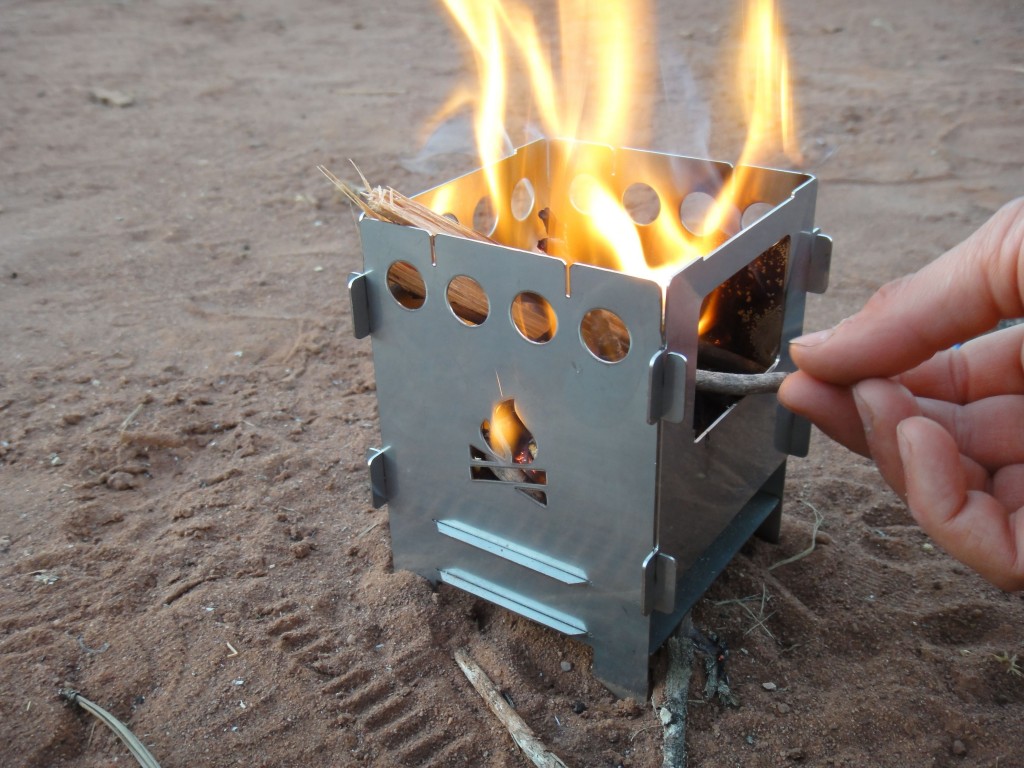
Wood/Solid Fuel Burning Stoves
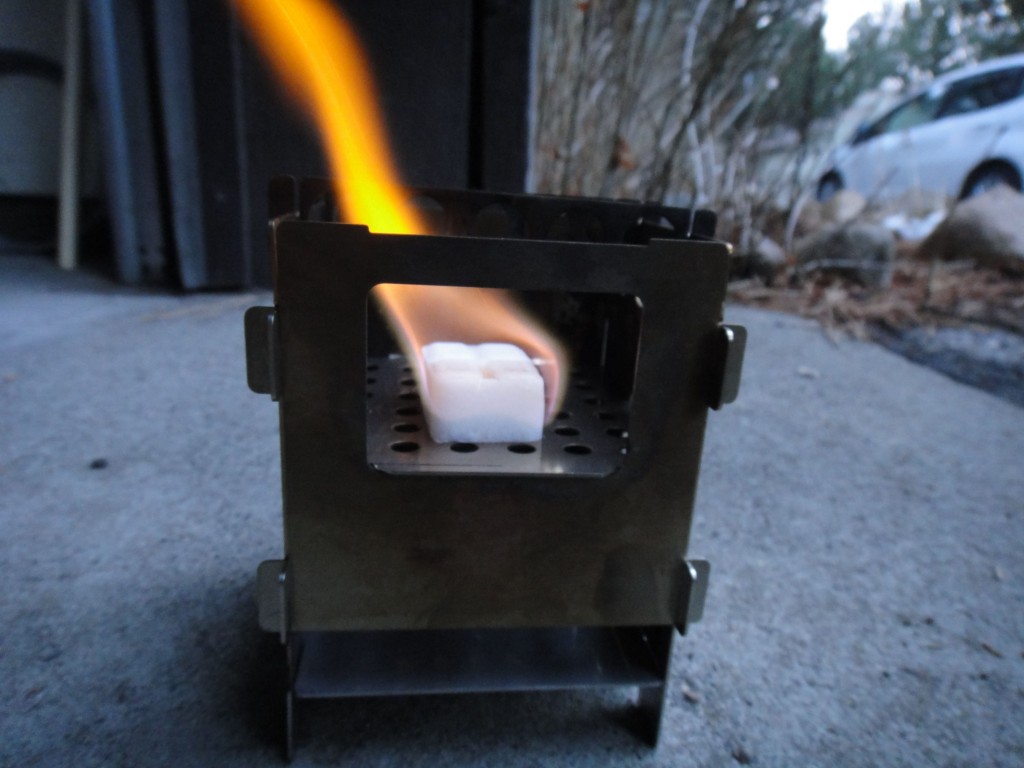
Wood and solid fuel burning stoves are one attempt to reduce the weight of cook systems. This type of stove often offers the choice of carrying and using chemical fuel tablets or foraging for burnables along the trail. While interesting conceptually, our testers have found that they're kind of like a wood stove in your house; neat for the first day, then a really inconvenient way to make heat.
Best for: Survivalist camping
Best Features: Lightweight and compact
Worst Features: Gimmicky and hard to control
The appeal of these stoves is that they are very lightweight and often pack down quite small. Unfortunately, we think there are more drawbacks than benefits, and these are the least functional and reliable of all the stove types. Burning the Esbit or Trangia chemical fuel smells horrible and is not efficient. These stoves have zero temperature control for cooking, and they take a very long time to bring water to a boil.
If you choose to solely burn wood in your stove, you are at the mercy of the environment around you. If the environment is wet, it won't be easy to find dry fuel. On much of the public land in the American West, there are often temporary fire bans where the use of this type of stove would be illegal. In alpine or desert settings gathering wood is often not good for the ecosystem. In addition, in many places, fires are forbidden above 10,000 feet. Lastly, expect to have a completely sooty pot after use.
Like the alcohol stoves, wood-burning models are theoretically compelling, which is perhaps why they are perennially popular in online gear reviews. Our testers have found that in real-life backpacking situations, they're less useful than other designs.
Fuel Efficiency vs. Weight
Saving fuel is ultimately good for the earth, but does not automatically equal weight savings. If you choose a stove that is heavier by 3 ounces but is slightly more fuel-efficient (saving you approximately 0.2 ounces a day on a 7-day trip), that equals 1.4 ounces of weight savings in fuel. This is less than the additional 3 ounces of the stove. Therefore, you are not ultimately saving any weight by choosing the more fuel-efficient stove.
If the stove is more fuel-efficient and you have it out for a long time, this could help you save weight by enabling you to bring less fuel or smaller canisters and fuel bottles and not having to carry unnecessary fuel. For example, the difference in total weight between a 4-ounce canister and an 8-ounce canister is roughly 6 ounces. If your stove is 4 ounces heavier and is efficient enough to prevent you from having to carry a larger canister, you've just saved yourself 2 ounces.
The bottom line is that you should first consider the stove that will do the best job for the conditions you will encounter, then look at the weight. If you are anticipating high winds and cold temperatures, consider reaching for the heavier MSR Windpro 2 before the Snow Peak GigaPower 2.0 — yes, the Gigapower is lighter, but it will blow out and ultimately be less fuel-efficient in high winds, resulting in a less pleasant and possibly dangerous experience.
Fuel Calculation for Trips
The age-old question that every backpacker will inevitably ask in their packing process is: How much fuel should I bring? There are many variables to consider, including the length of trip, number of people, altitude, temperature, the type of meals you plan to cook, if you will be melting snow, and the fuel efficiency of your stove.
Stoves tend to perform poorly the higher in elevation you go and the colder the temperatures get, so you will need to factor in more fuel for these scenarios. As backpackers, we often want more hot drinks and meals under those conditions too! Obviously, if you only intend to boil water, it will take less fuel than if you are cooking and simmering elaborate meals. You will need more fuel to melt snow, or if your water source is very cold. The altitude, weather, and type of food being prepared all affect how much fuel gets used.
All this being said, we can give you some benchmarks to start your calculations for how much fuel to bring on your trip — but you will ultimately have to decide whether you prefer to shave grams to carry the bare minimum of fuel while worrying that you'll run out; or be willing to carry more weight to avoid the stress of worrying about how much you packed. The only way you can be certain these calculations will work for you is to get out there and cook with your stove under different conditions and then keep track of how much fuel you actually used. Were you too conservative and brought too much? Or did you have cold ramen noodles for dinner the last night because you didn't bring enough? Experiential learning at its best!

We find the same rules of thumb work for both canister gas and white gas. For a solo trip, just bringing water to a boil but assuming hot breakfasts and dinners, we use about 1.5 ounces per day. When cooking for two, we use about 2.5 ounces per day. If you will be cooking more elaborate meals, or cooking in extreme cold and/or melting snow, plan to bring about 2 ounces per person per day. For the less fuel-efficient small canister stoves, bring slightly more.

To Canister or Not to Canister, Three Considerations
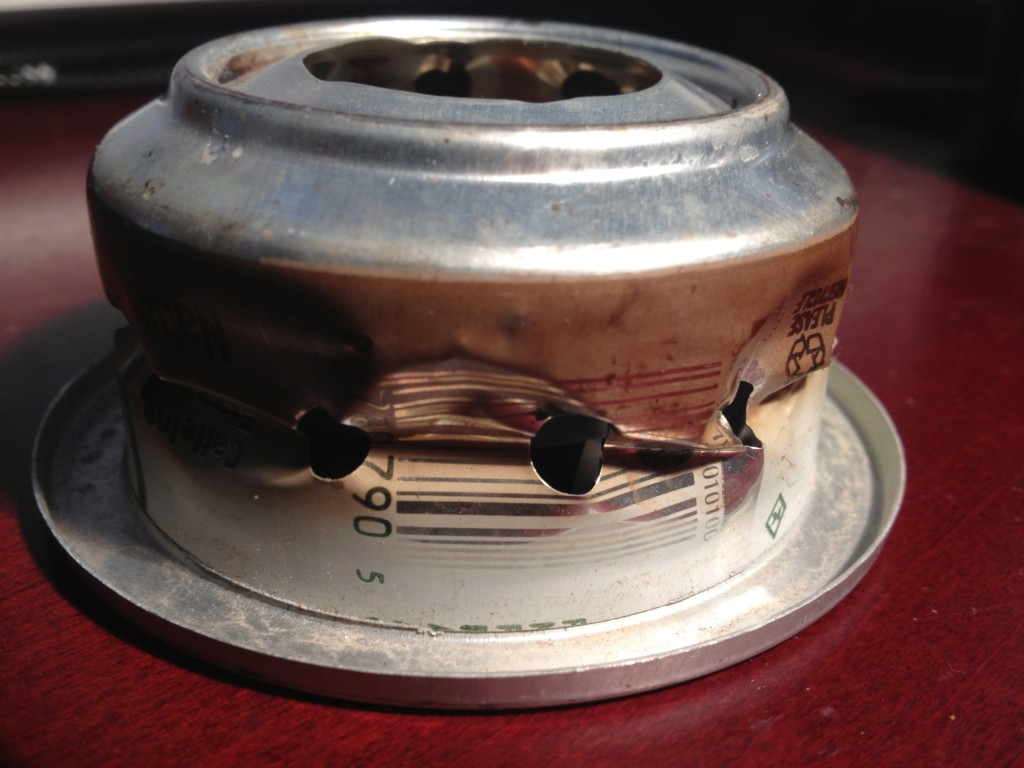
Waste
For a long time, people didn't know what to do with their empty canisters after using them and threw them out in the dumpster under the cover of darkness. This is needlessly wasteful, and some backpackers shy away from this type of stove for that reason. But wait, you can recycle your empty canisters! You just need to burn off any excess fuel and poke a hole in the canister (you can do this with a hammer and screwdriver) to get them ready to recycle at most recycling centers. In some places, you will need to locate a mixed metal recycling center; in other areas, you can recycle the punctured cans with the rest of your aluminum cans. Some outdoor stores are happy to collect them and recycle them for you as well. If you're nervous about pounding on a canister with a rock, Jetboil makes a tool called the Crunchit that will help crush them for you.
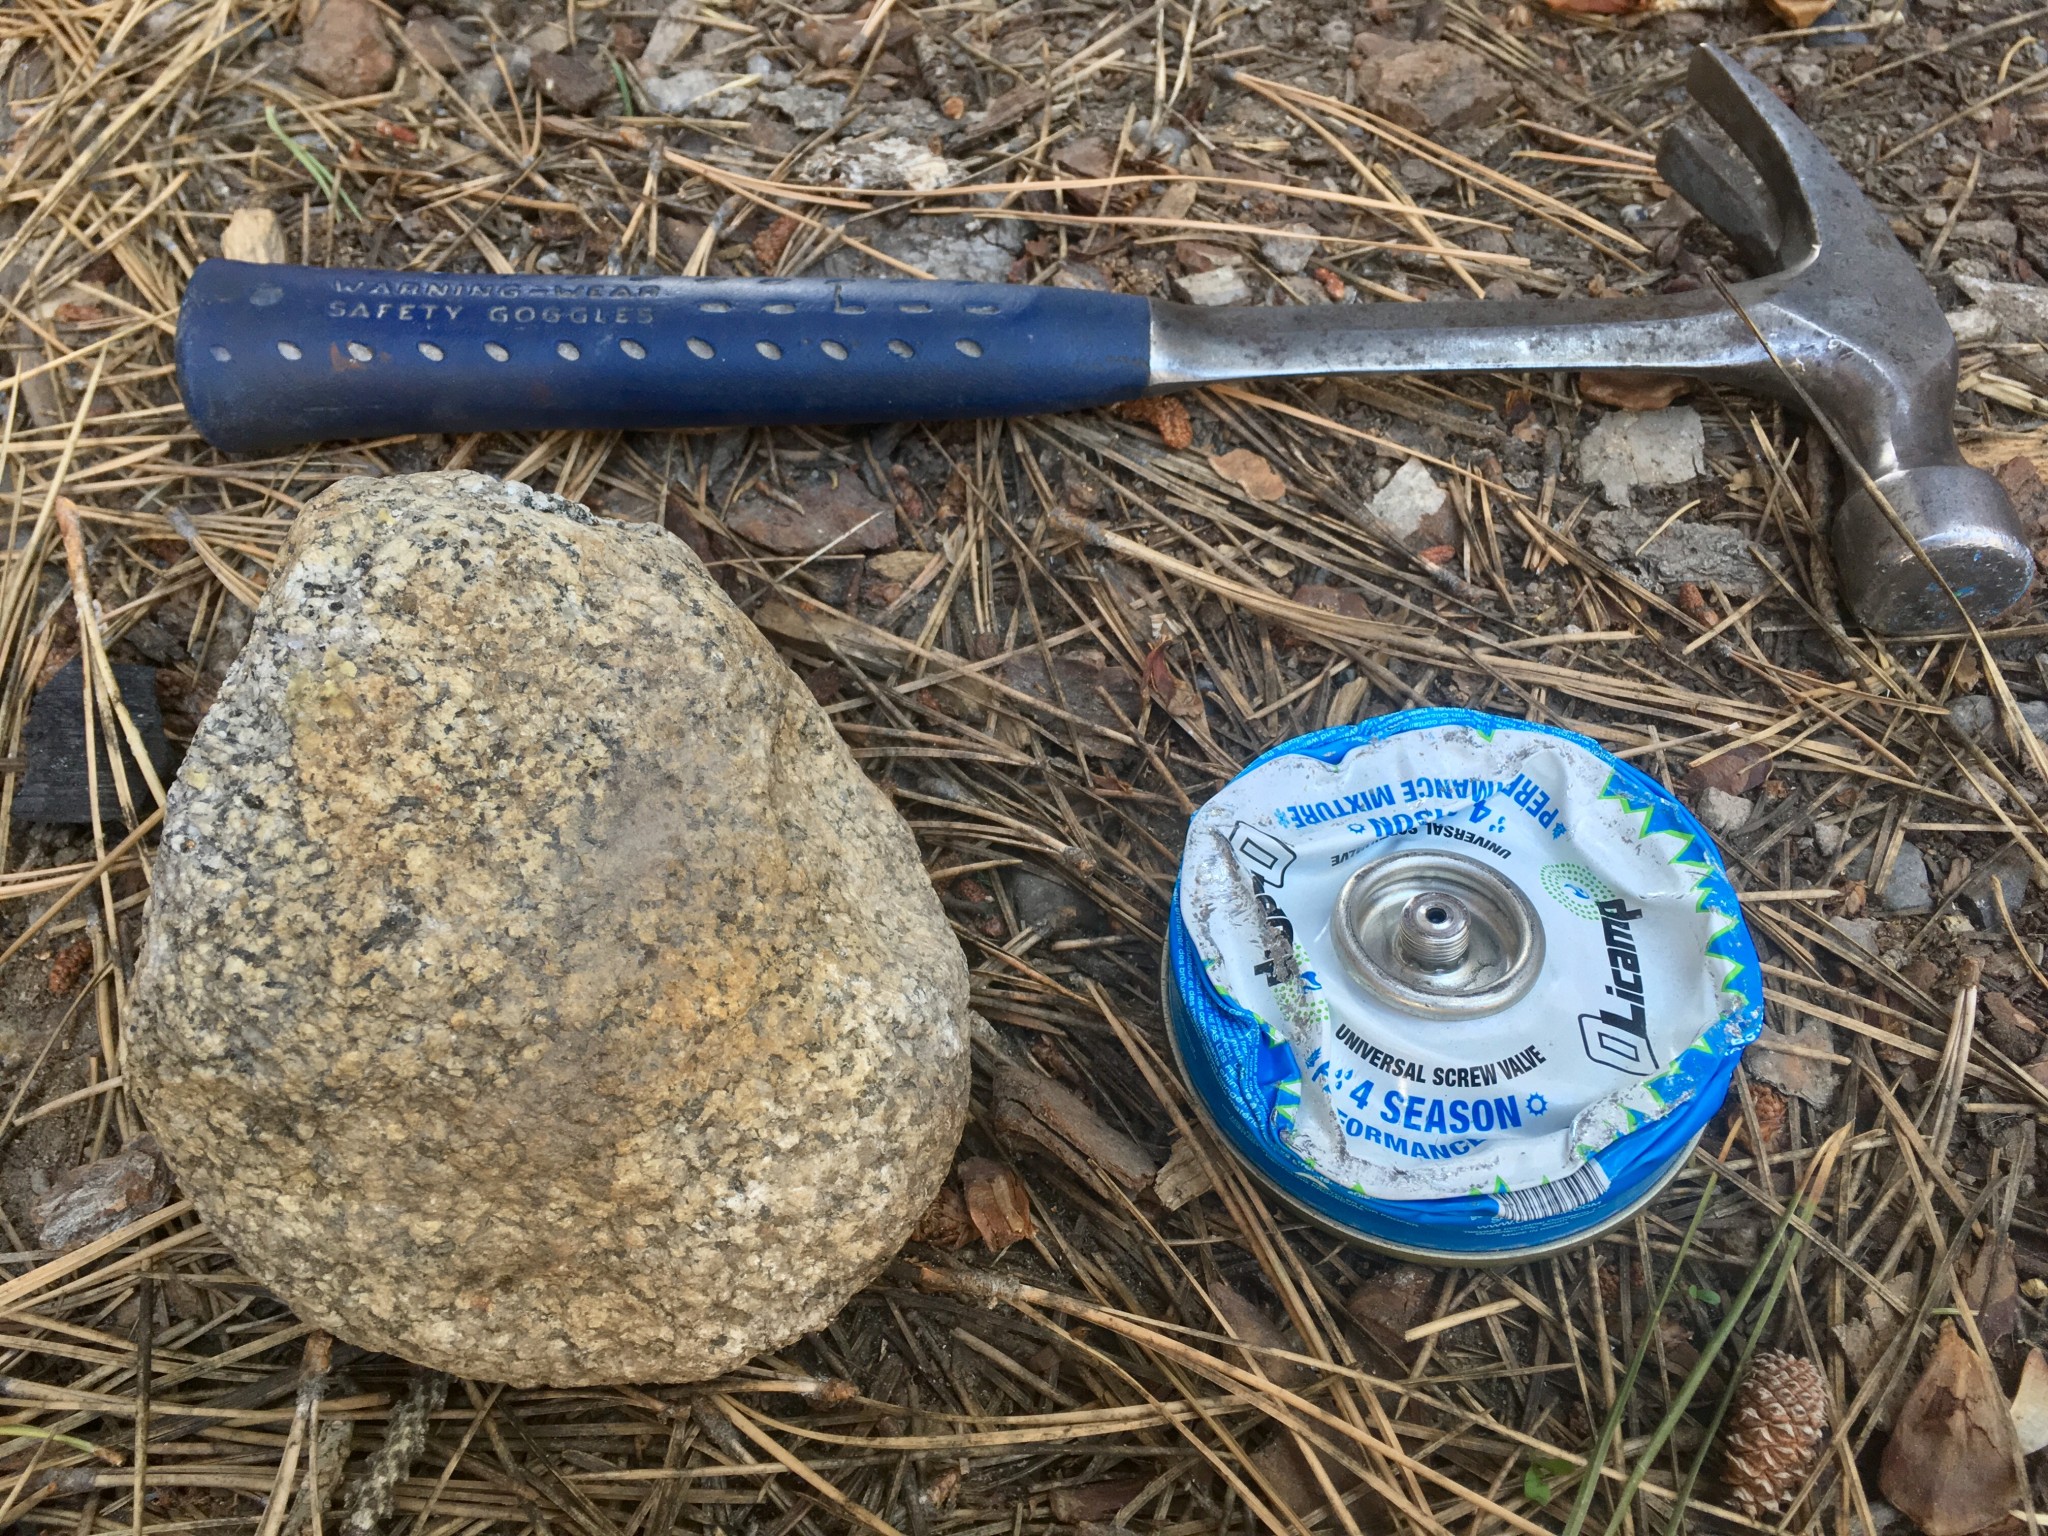
The bummer about canisters is that once they are empty, you have to pack them out with you, whereas liquid fuel bottles are reusable and refillable once emptied. If you are very environmentally conscious, liquid fuel stoves will be the preferred option for you. Even with the waste, we prefer canister stoves for most applications. When we empty one in the backcountry, we'll often crush the can with a medium-sized rock so it takes up less pack space. Again, make sure it's truly empty before trying this, and recycle your used canisters.
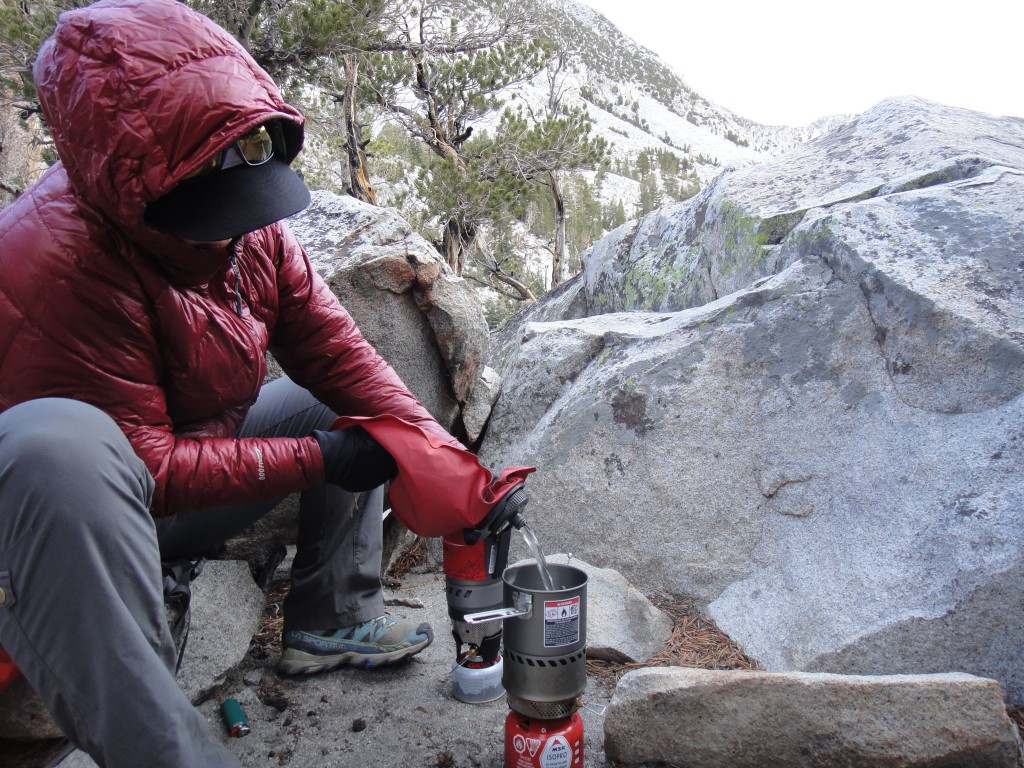
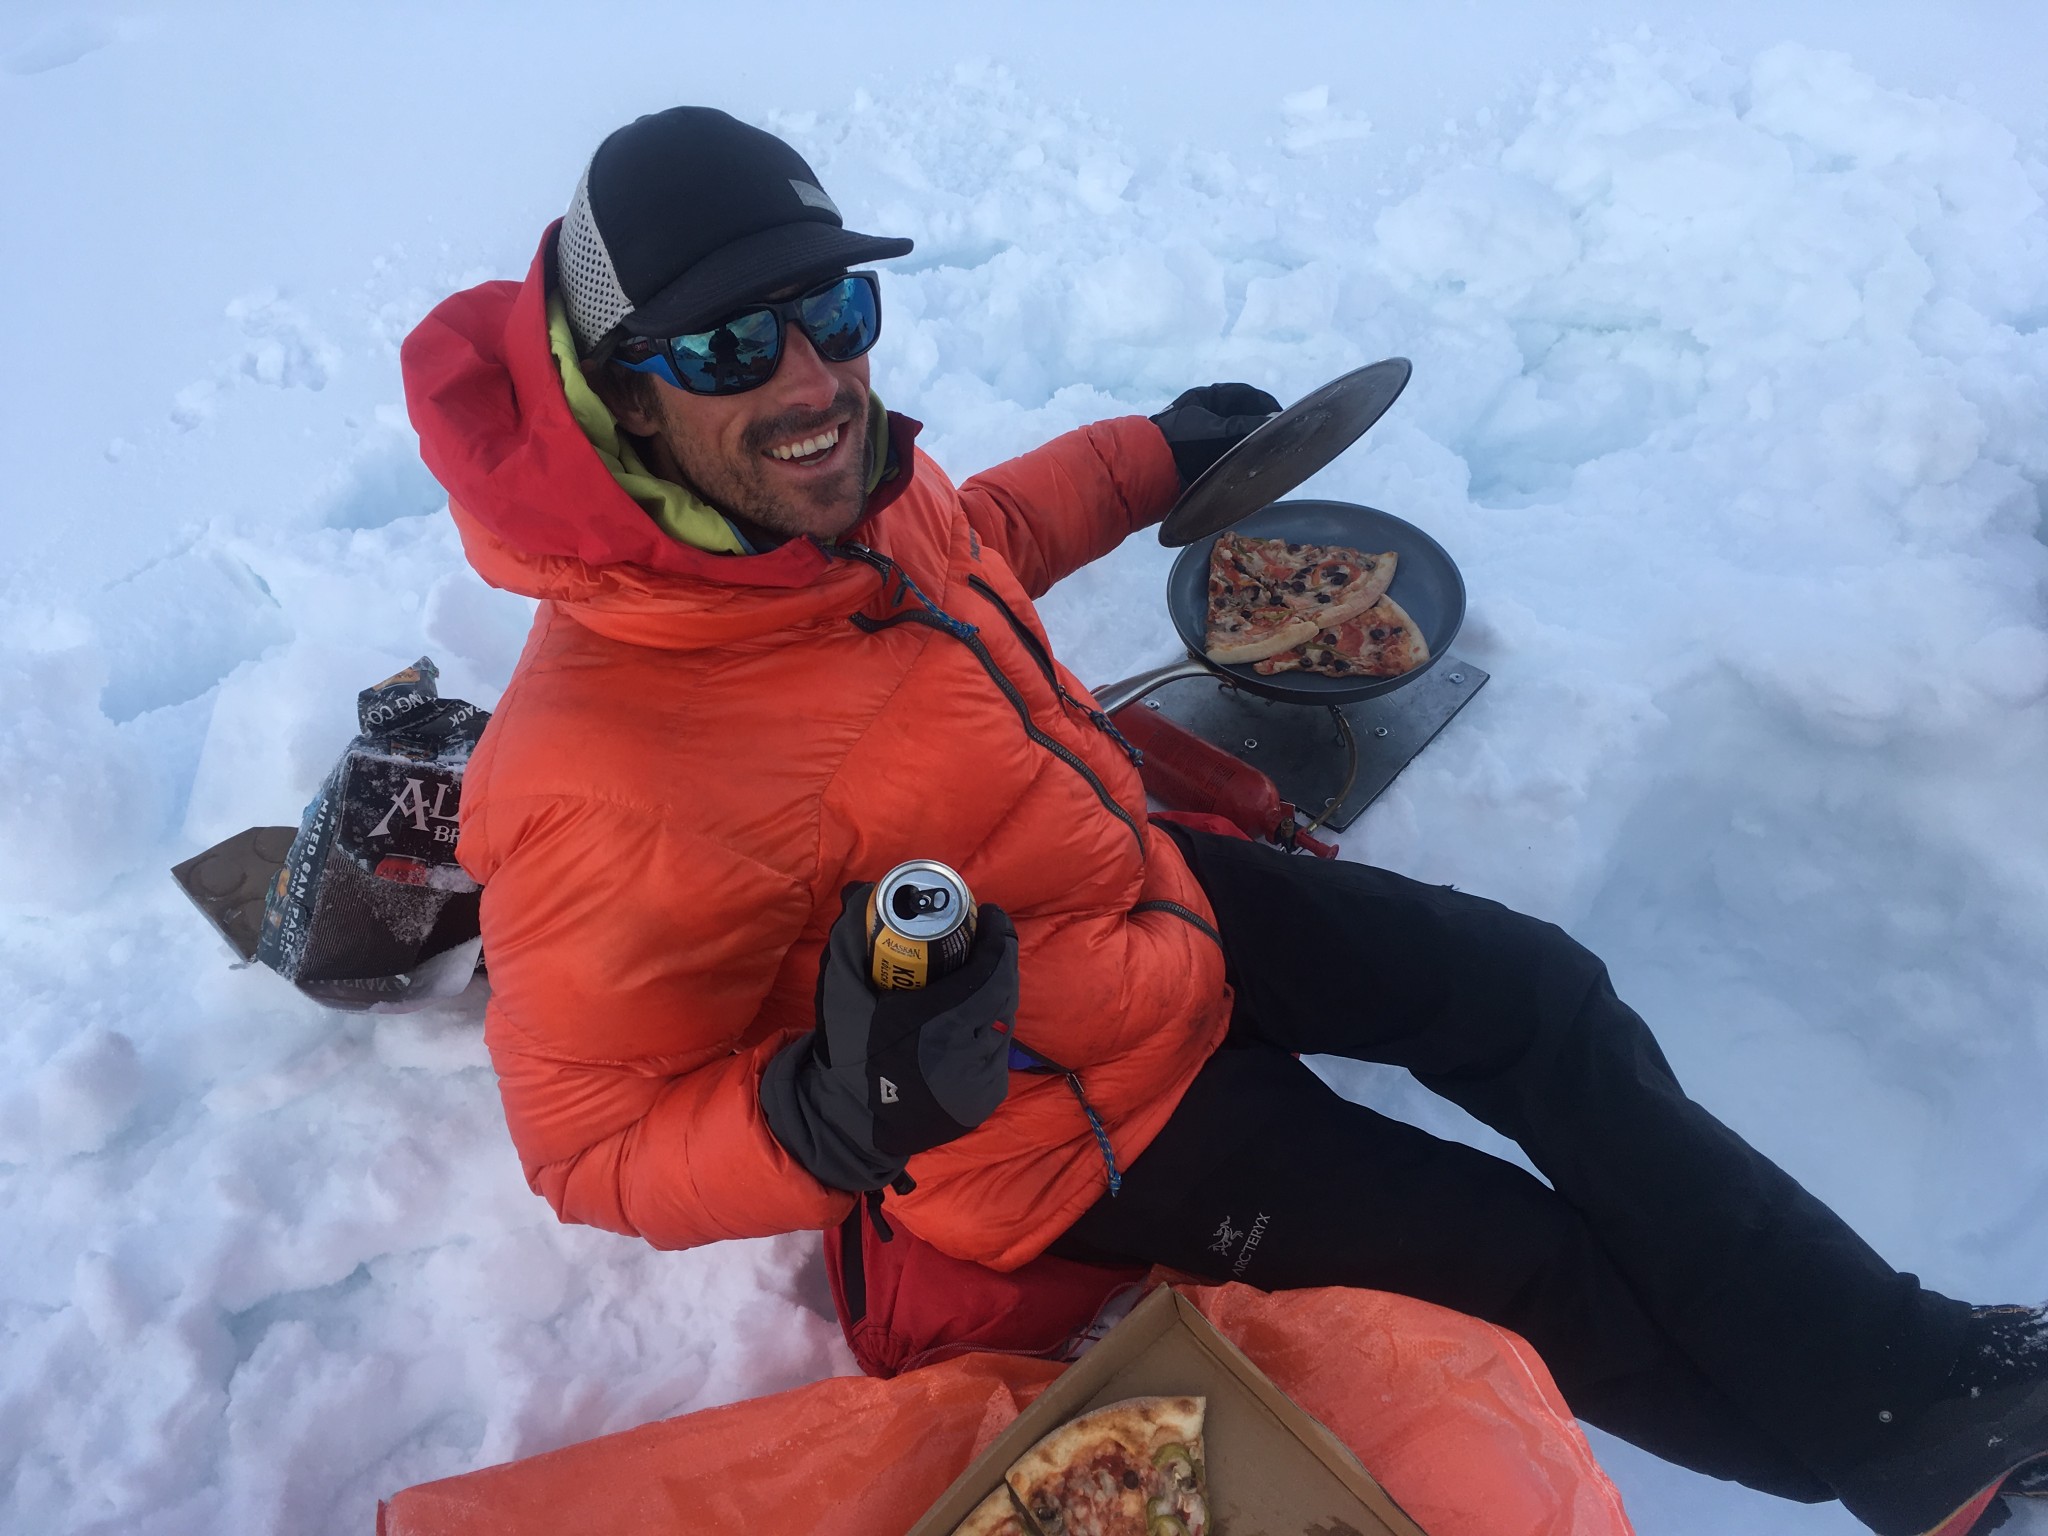
Cold
All stoves have trouble in the cold because this causes a pressure drop in the fuel container. With a liquid fuel stove, bottle pressure can be increased by simply pumping the stove up some more. This isn't an option with canister stoves, and more care is required. First, avoid setting the canister directly on the snow. Then, as the canister cools off, warm it up by putting your hands on it (and periodically rewarming them by the stove flames) or by setting it in a small container of lukewarm water while the stove is running. You can also keep a second canister warm in your jacket and simply exchange canisters for rewarming.
The MSR Windpro, Universal, and GSI Pinnacle (and any other stove where the canister attaches to the burner with a hose) give backpackers another option for dealing with cold or nearly-empty canisters. The fuel canister can be inverted, which improves gas flow by allowing the liquid fuel to escape the can without having to be vaporized.
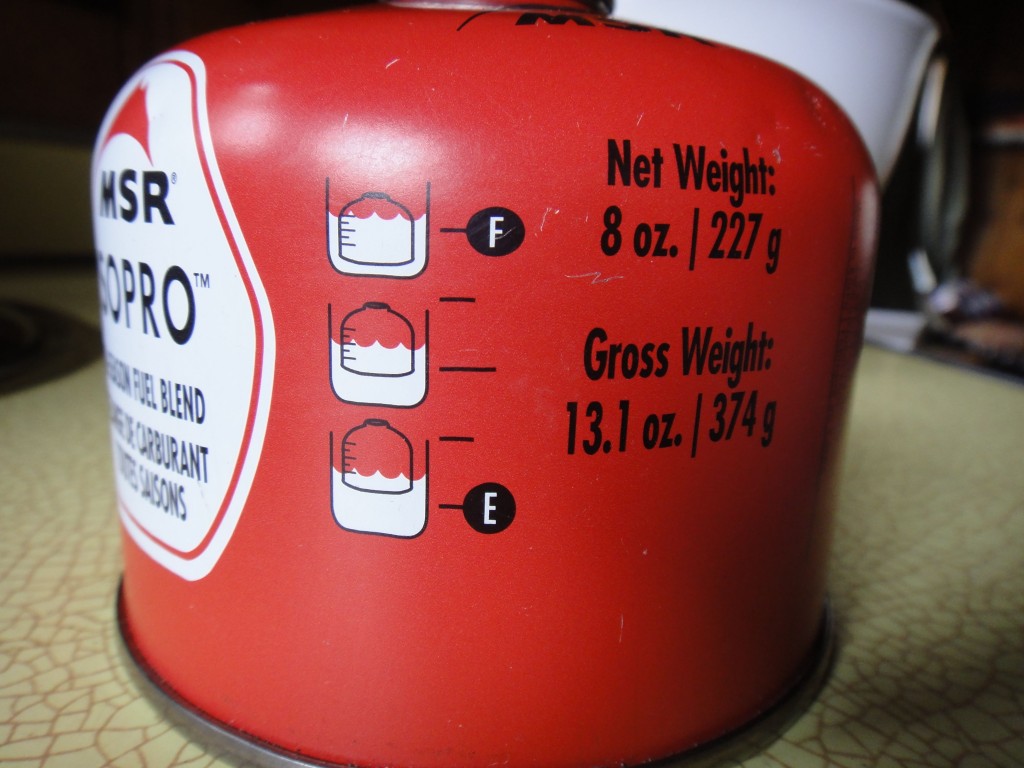
How Much Fuel Is Left?
Another common complaint about canister stoves is that it is hard to tell how much fuel is left. There are two easy ways to calculate this. (1) Use a scale. The canister should have its gross weight on it. Weigh the canister. The difference between the gross weight and its current weight is how much fuel you have used. For example, if the gross weight is 13.1 ounces and it weighs in at 10 ounces, that means you have used 3.1 ounces of fuel. So, in an 8 oz canister, you have 5 ounces of fuel left. MSR has simplified this process for us by including a diagram on the side of its canisters to show you how to measure the amount of fuel remaining by putting your canister in water. This method is less precise but gives you a general idea of how full your canister is and it can be done in the backcountry.

Dream Stove Set-up for Different Applications
If money was no object, our dream stove set-up would be this: the MSR Universal for basecamp cooking, the Soto WindMaster for warm weather and lightweight backpacking, and the Jetboil MiniMo for alpine climbing and big walls. Perfection.
Accessories
Here are some things that will come in handy for specific applications when using your backpacking stoves:
Piezo Igniters
Our favorite stove models come with their own piezoelectric igniters, but handheld models can be useful for any backpacking stove.
Steel Striker
These fire starting tools are much more reliable than a lighter or matches in foul weather, and they last longer.
Fuel Bottles
These are sold separately from your liquid fuel stoves, but are a necessary item to make them work! Fuel bottles come in several sizes, including 11, 20, and 30 ounces. Fuel bottles may not be compatible across manufacturers.
Coffee Accessories
Integrated canister stoves from MSR and Jetboil have available coffee kits that mimic a French Press, though there are other top camping coffee makers that we like more for the outdoors.
Hanging Kits
Climbers have long used homemade hanging kits to secure stoves on a big wall climb. Commercial models are available for use with Jetboil and MSR integrated canister stoves.
Additional Pots
Integrated canister stoves require special compatible cookware. Again, MSR and Jetboil both sell aftermarket cookware like pots and frying pans that work with their stoves.
Pot Sets
For cooking on your liquid and small canister stoves, see our camping cookware review.