Safety: The #1 Reason to Invest in a Bike Light
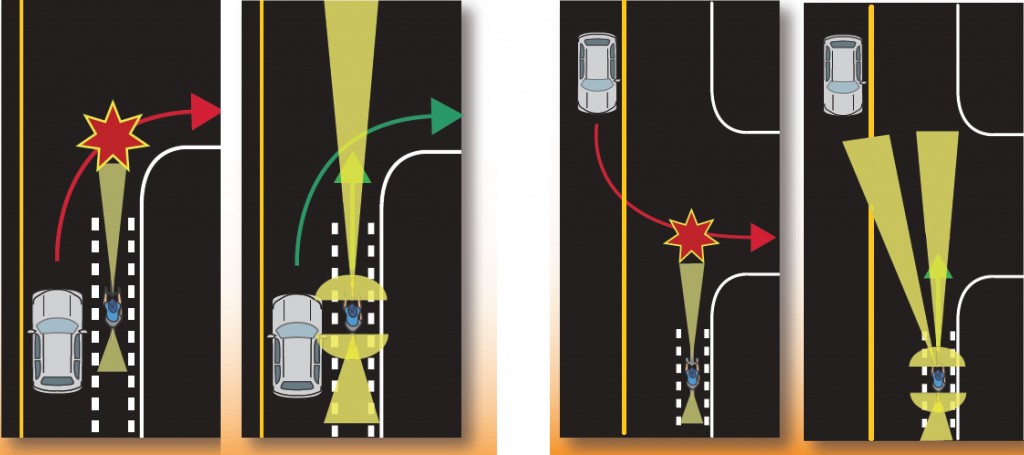
If you bike on city streets, you already know the inherent risks of riding a bike in traffic with nothing to protect you from impact other than a helmet. Cars often don't see cyclists in the day, but at night, the risks are even worse. Much as flashing beams have been common on motorcycles for daytime, the use of flashing front and rear bike lights can reduce your risk of accident in daytime as well as night. Data from New York City and the National Highway Institute show that 70% of bike accidents are frontal collisions and that 72% of bike accidents occur at intersections. This data and our field testing experience in four U.S. cities indicate that a front bike light has a much greater influence on your safety than a rear one.
The graphics below suggest that wide and/or bright beams increase your visibility to on-coming motorists and reduce the probability of an accident. Some people consider helmet mounted models to be safer because you can point them at turning vehicles and they sit higher above the road (and thus may be more visible to oncoming motorists). However, we were unable to find any traffic accident data to validate this belief.
Evaluating Light Performance
As you would expect, the biggest part of our testing process is using each product extensively in real-world conditions. These tests took place all over in the U.S., with different riders, over a wide range of streets and paths, including everything from heavily trafficked urban streets to dark rural roads and mountain bike trails.
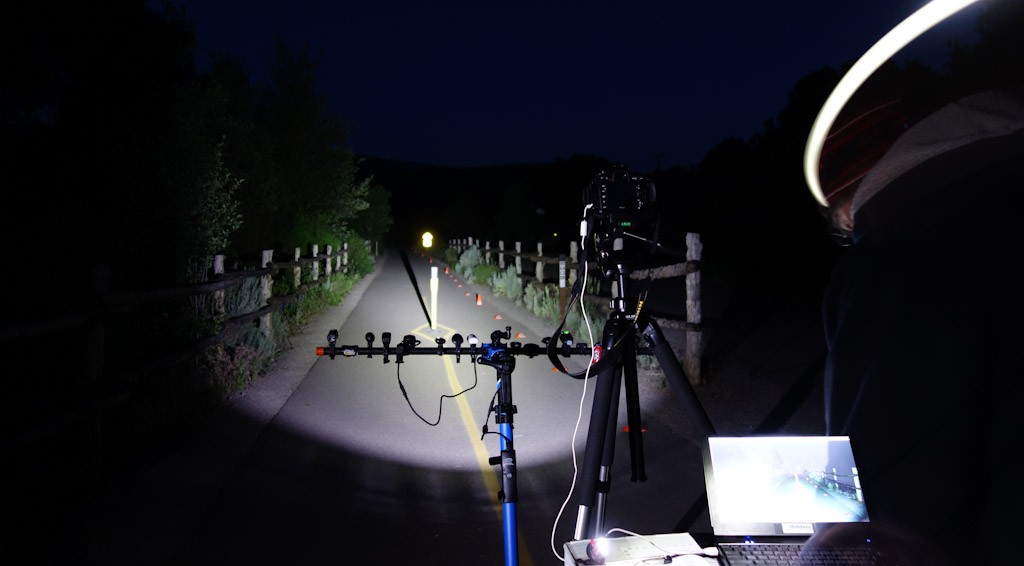
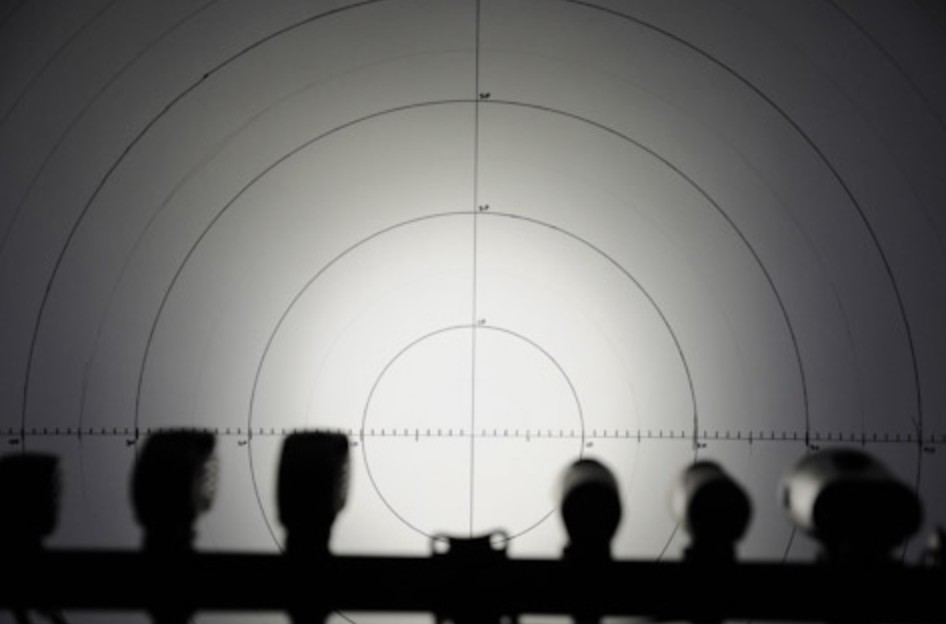
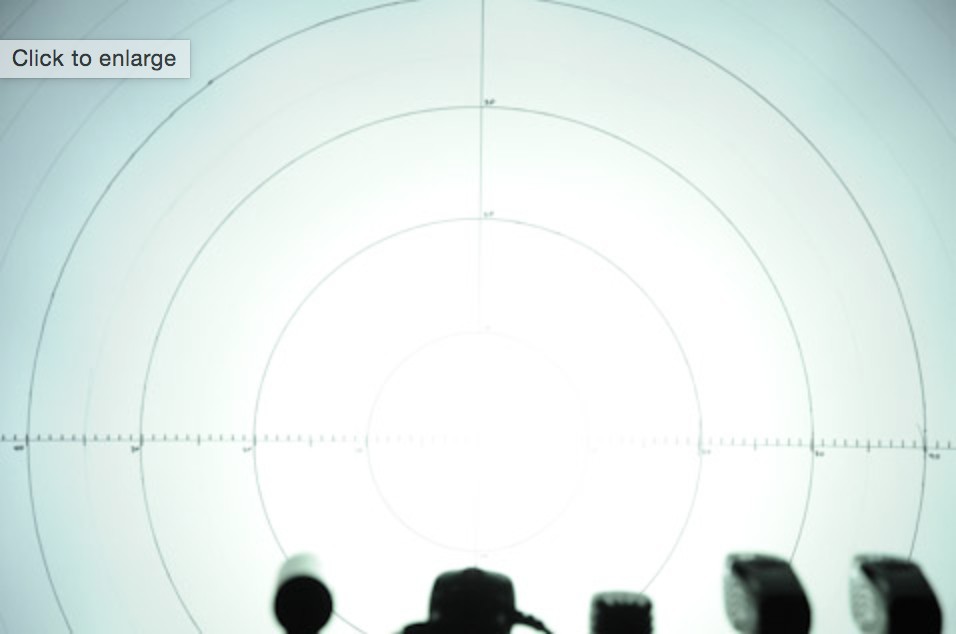
To augment our hands-on testing, we then photographed each contestant using the exact same camera settings to allow you to see the relative differences between competing models. You can see each one in our test here on our Beam Comparison page. Note the importance of beam pattern. Click on any image to zoom in.

Lumens Are for Light Bulbs, not Bike Lights
Every product in this review includes a spec for lumens, but we recommend ignoring this because lumens measure light energy in any direction. While lumens are a good way to assess a household bulb, they are a poor measure of the quality of a focused beam. We believe our beam photos give you a better sense of the quality of the lens optics and relative brightness than the manufacturer's lumen's specification.

We also photographed each models' beam pattern on a standard target to compare beam width and how evenly lit each beam was.
Left to right: Light and Motion Urban 350, Light and Motion Vis 360+, NiteRider Pro 1800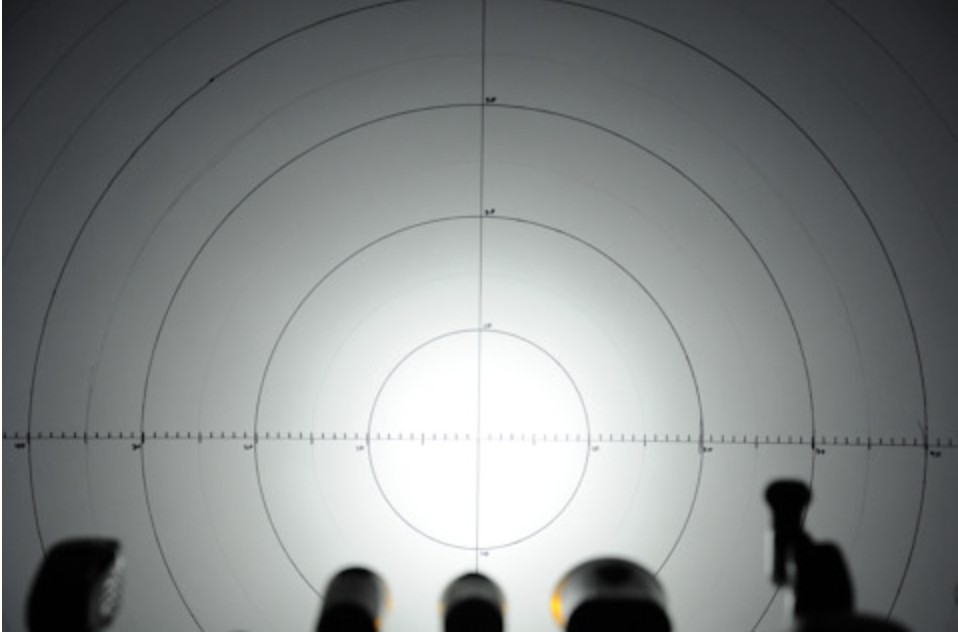
Lastly, we tested each contestants' battery life, seeing how beam distance degrades as battery strength weakens, as well as overall battery life.
Choosing the Right Product for Your Needs
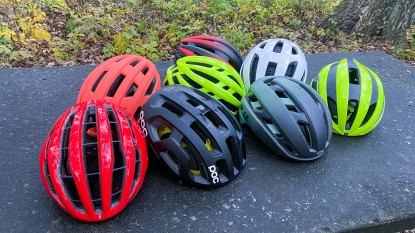
This review compares all types of bike lights. We group each one into one of the following categories, based on mount type and brightness.
Different Types Available
The type of design which will be right for you depends on your riding habits. After being out riding and testing, we split the selection of products tested into two main types:

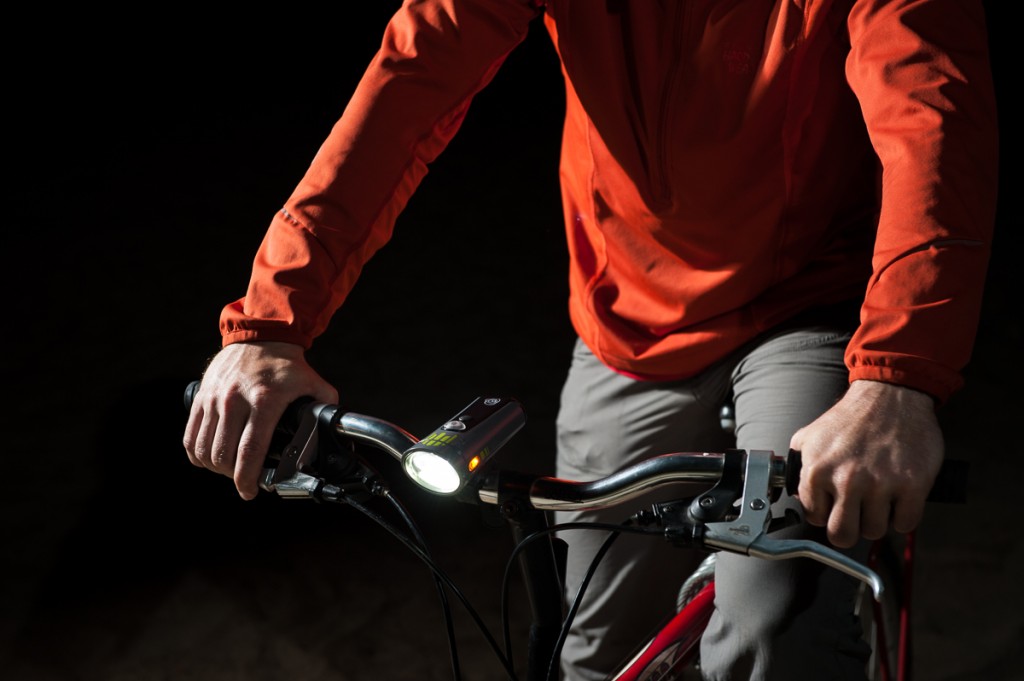
- Bright Beam — A bright beam is typical of most models costing over $60. These products, such as the NiteRider Lumina 550, are heavier, but offer a bold wide beam that can fully illuminate a dark road or path in front of you. These products generally come with USB rechargeable batteries and are typically installed onto a handlebar with a quick release bracket for removal upon arrival at your destination.
- Small Safety Lights — Small safety lights, such as the CatEye HL-EL 135, are compact and easy to store in your pack, but put out a relatively dim beam. These are suitable for those who ride on roads and paths that are fairly well lit at night by street lights. These small beams provide enough illumination to be legal when riding at night, but from our point of view would be unsafe to significantly illuminate a dark path on a moonless night.
Different Modes
Every contestant we tested offered a strobe mode which can be set to flash on and off. A flashing strobe increases visibility to oncoming traffic, thus offering a key safety feature (especially for small safety lights with beams that may be too dim to stand out without the flashing mode).
However, on a dark night when you are relying on the bike light to illuminate the road ahead, a flashing strobe is annoying.
The higher end bright beam models typically offer several levels of brightness and one or more flashing strobe modes.
Mounting Types
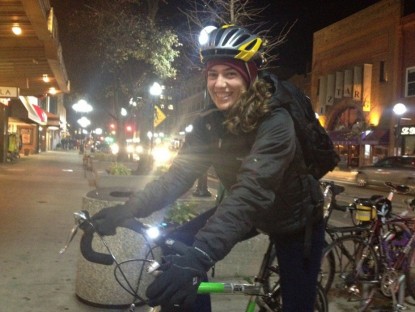
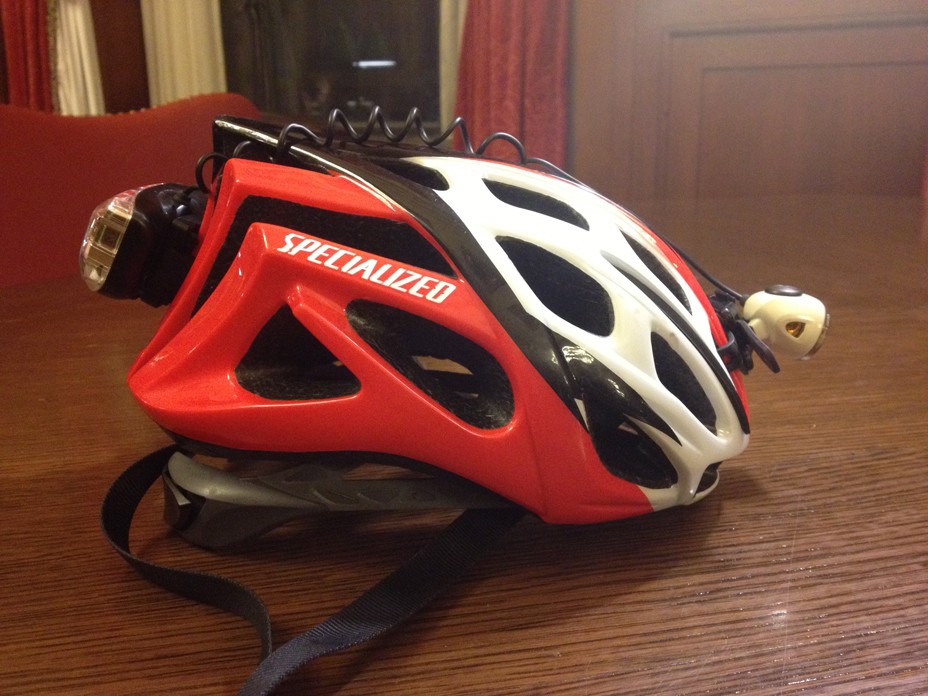
The normal mounting location is on the handlebar. However, a minority offer the option of mounting on a helmet as well. One model in our test, the Light and Motion Vis 360+ is designed exclusively for helmet mount.
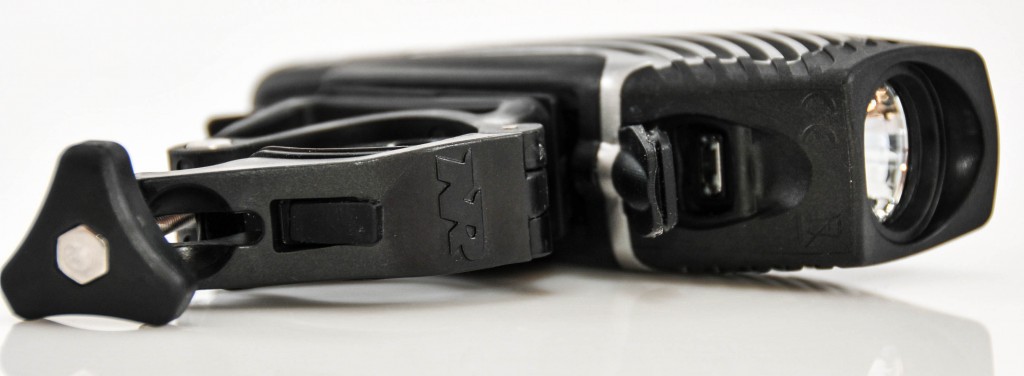
- Handlebar Mount — These are the most popular and most versatile location for your light. A quick release mechanism is provided to remove the light from the bike once you arrive at your destination.
- Helmet Mount — Some consider a helmet mount to be the 'safest' and a most ideal light for commuting because the beam is higher up, and thus easier to see from approaching vehicles. An ideal configuration for mountain biking is a combination of one light on the handlebar to illuminate the path ahead and one on your helmet that you can easily focus whichever way you turn your head.
Mount Type Also Impacts Portability
The type of mount has a tremendous influence on portability because many commuters install and remove lights multiple times a day. Helmet mounted designs (like the Light and Motion Vis 360+) are the most convenient for commuting because they allow you to either remove the product from the helmet (if you lock your helmet with your bike) or keep it attached to your helmet, which requires zero additional effort compared to a handlebar mounted model.
The majority of the designs we tested slide onto a mount that is fixed to your handlebar. Some require a tool to install and are a pain to move from bike to bike. An attached mount is best for mountain biking because it can be cinched very tight so that it stays in place through the extreme vibrations encountered while jumping and thumping off road.
For mountain biking, the need for long battery life and very high brightness force most good mountain bike model designs to use large external batteries that are relatively time consuming to install.
The ability to swivel a handlebar mounted model can be tremendously useful for commuting because it allows you to illuminate street signs, find house numbers without stopping or turning your handlebar, and mount it in atypical locations.
Battery type also has a significant influence on ease of use. Batteries are usually either integrated into the design or mounted externally. USB rechargeable batteries are the most convenient because you can charge them just about anywhere, and do not have to replace them once their lifespan has been exhausted.
Now that you have a better understanding for a few options and features available, take a look at our complete review of the best bike lights to see how all of the lights we tested stack up against each other.